the Nimble Beauty guide to achieving your desired nail shape, from stiletto to round, and everything in between
Nail Shape: Choosing the Best Shape for Your Hands
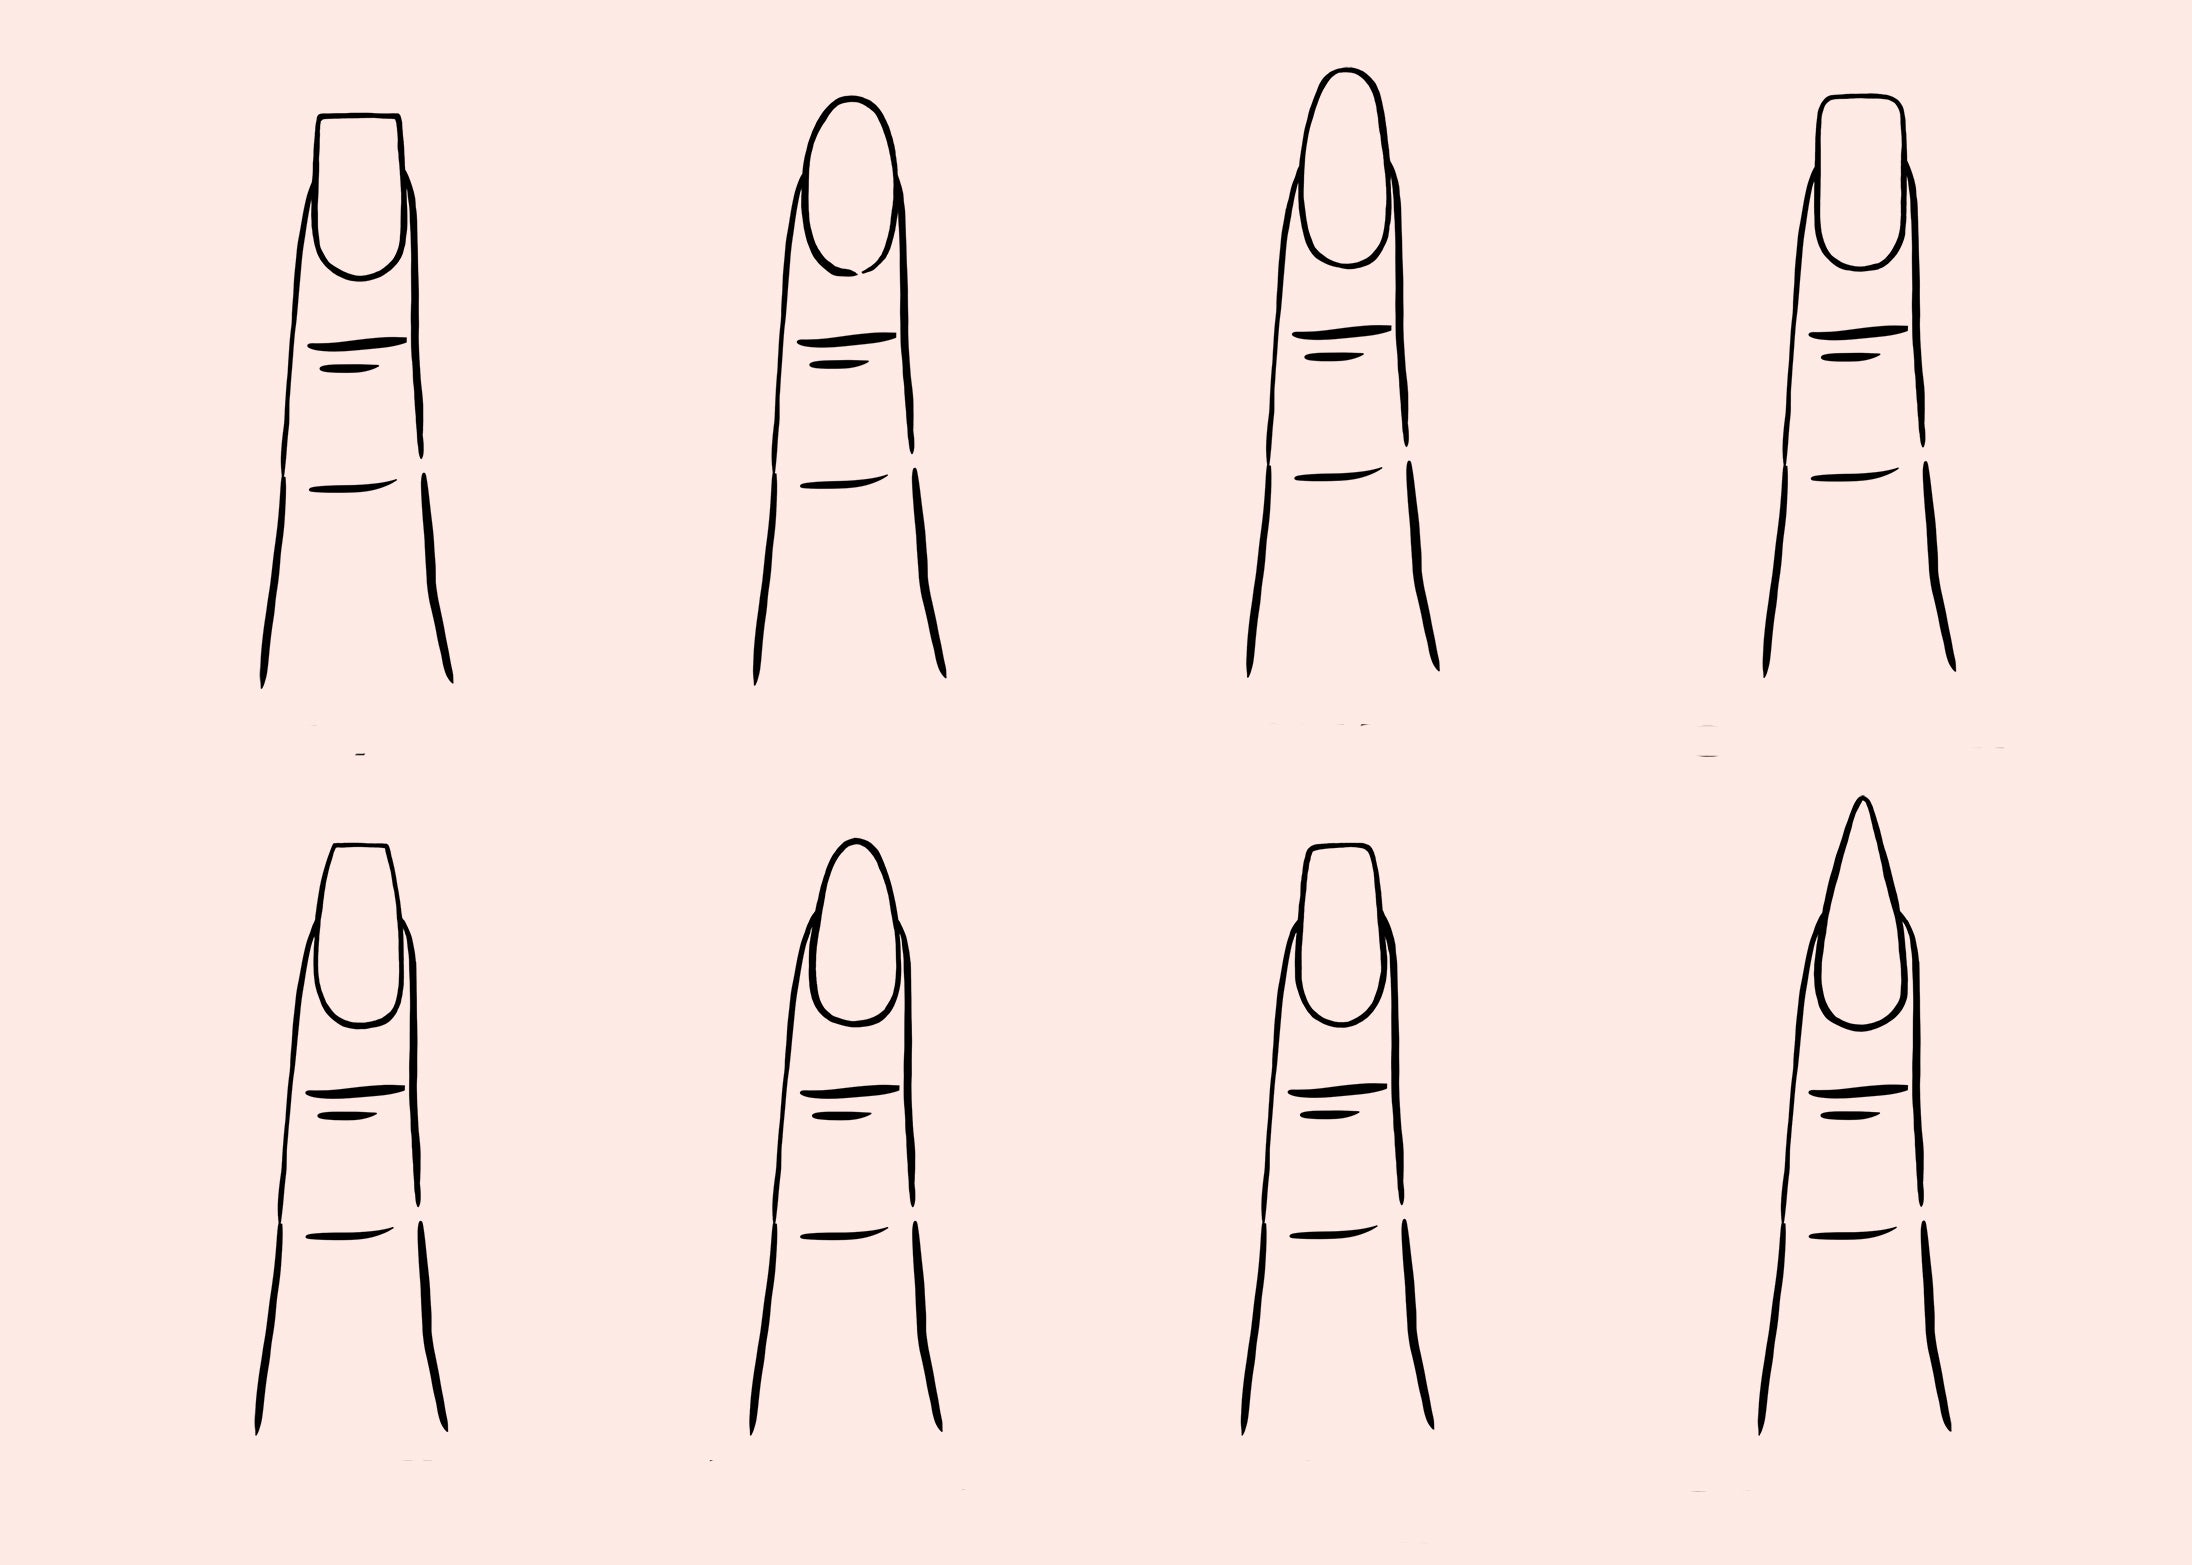
Gone are the days of choosing between round and square nails, although we still dig those, too! Getting an at-home manicure isn’t just about choosing a beautiful color—it’s about choosing a shape as well, and there are just so many to choose from. Below, we’re breaking down all the options out there and how to achieve them. Once you’ve reached your desired nail shape, use your Nimble to finish your nails off with the color of choice!
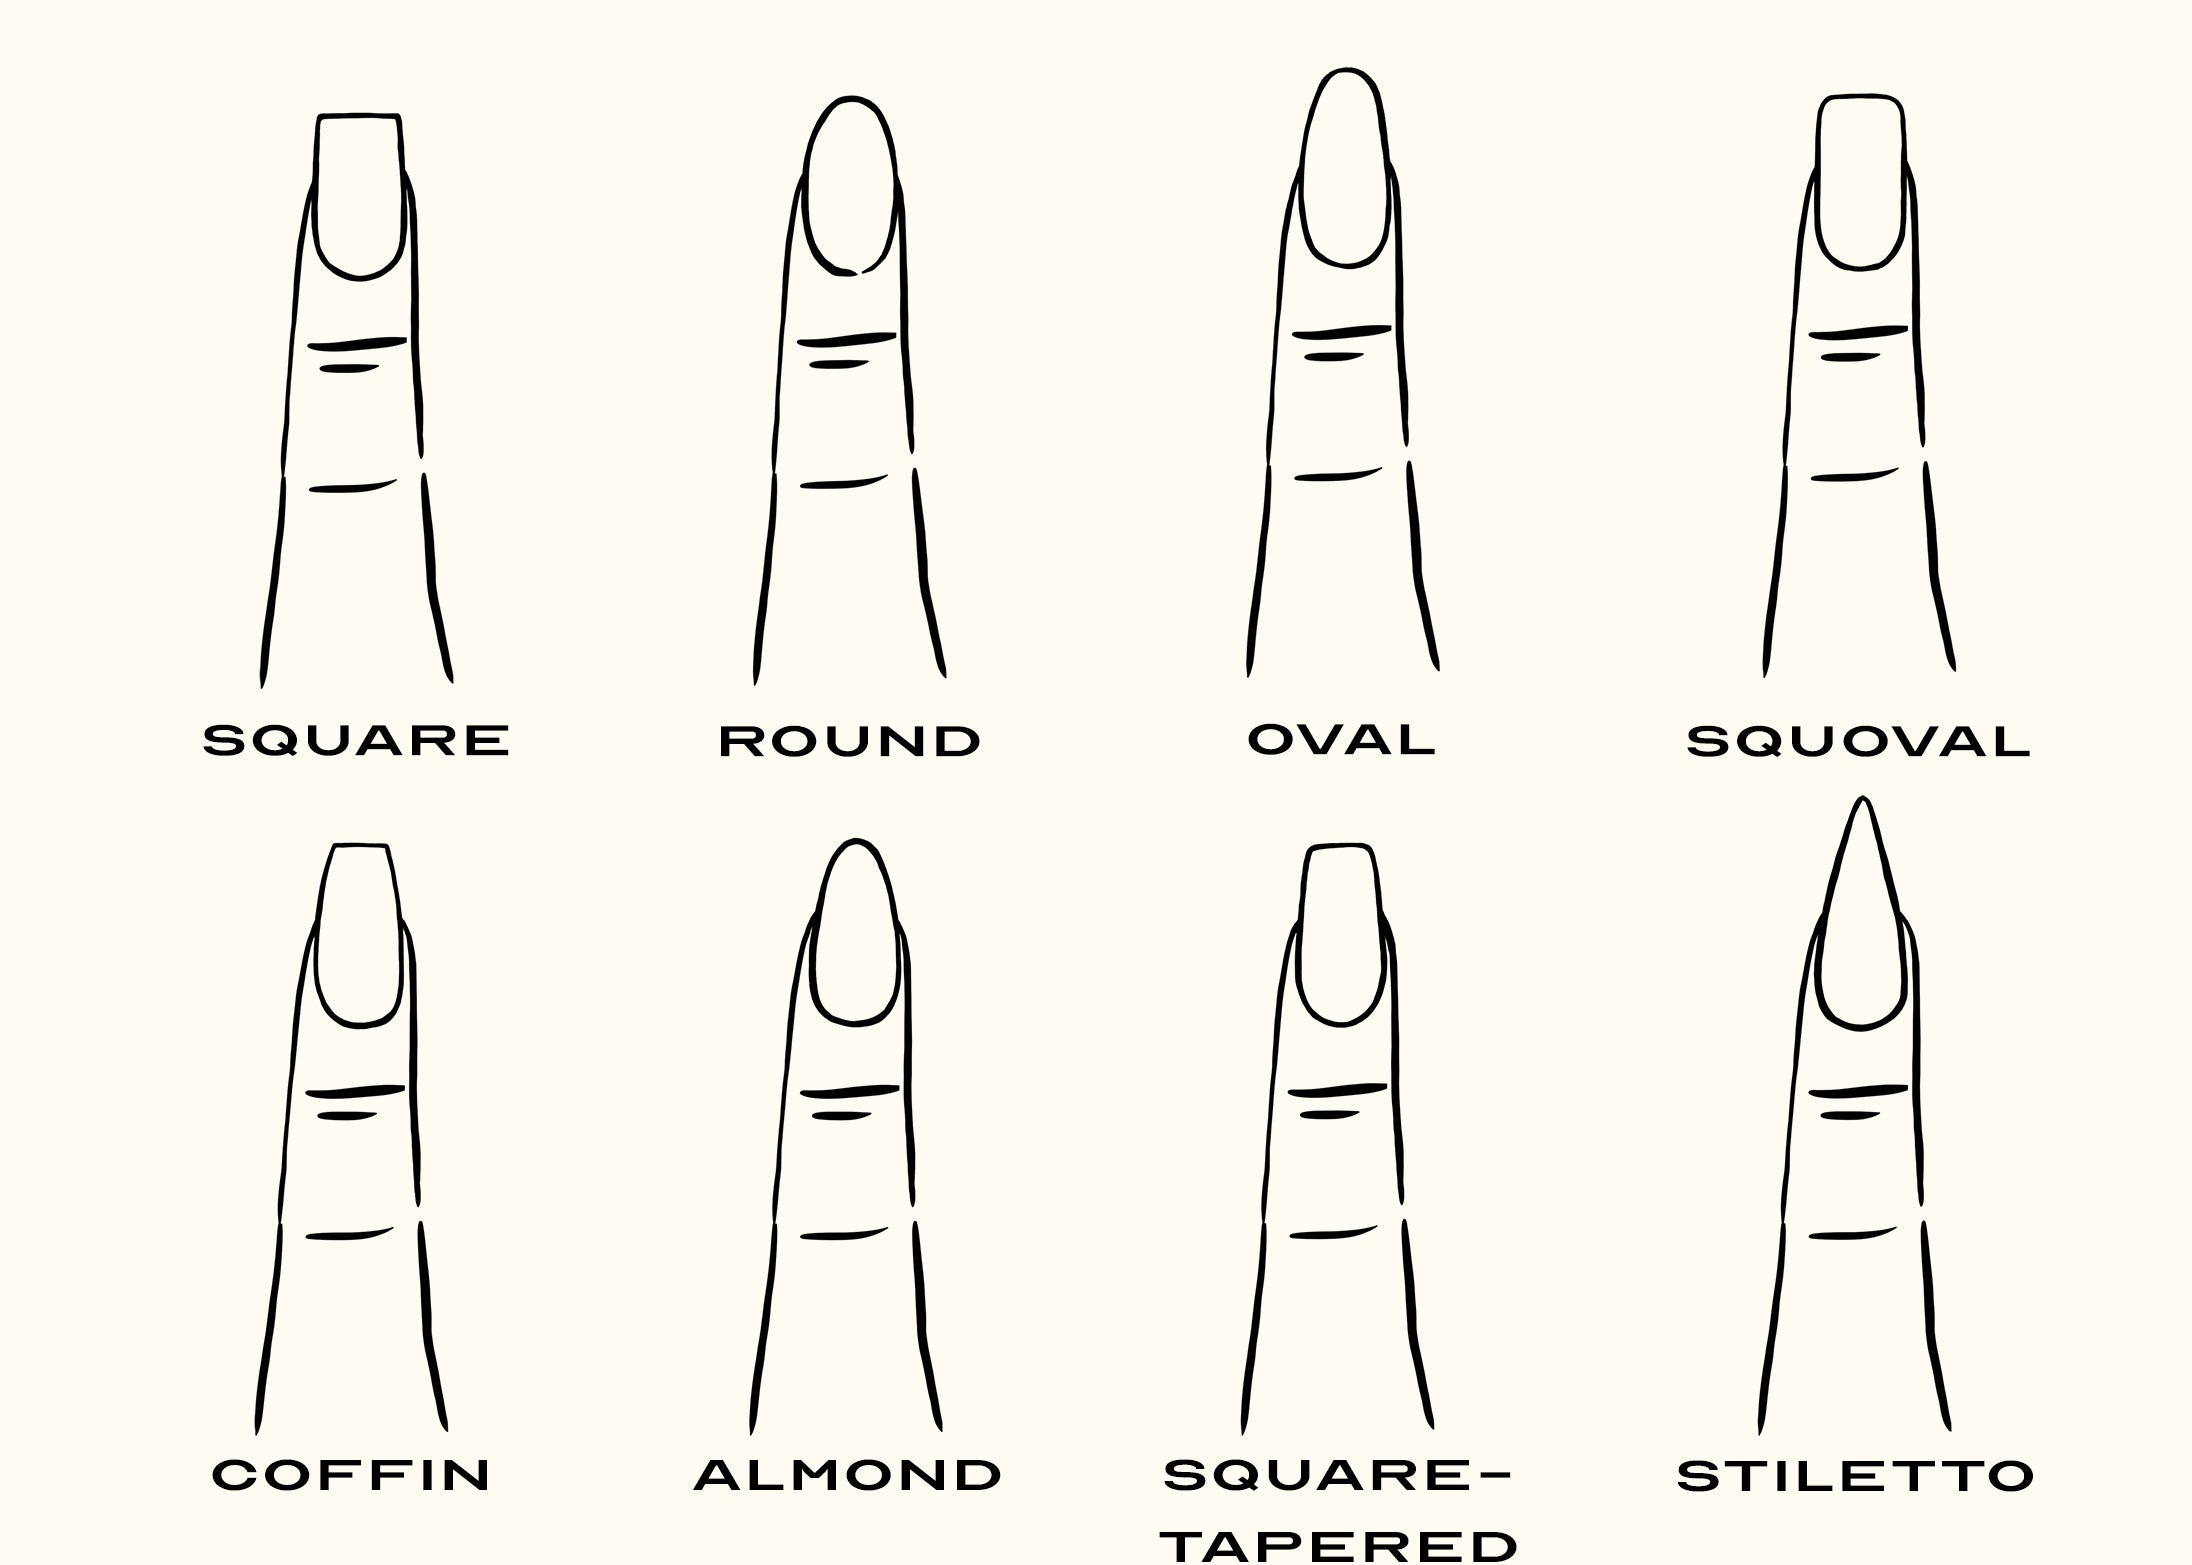
almond-shaped nails
This nail shape looks like your favorite healthy snack. It’s wider at the base and tapers toward the top, coming to a slightly rounded peak.
How to: Mark a spot at the center of the nail where you want to have your peak. File the sides towards the peak until you achieve the shape you want and they look even. Finally, round out the peak. Quick tip: Be sure to file your nails in one direction for a more consistent and even shape.
coffin-shaped nails
This style is also known as ballerina nails because it looks like a pointe shoe—or more morbidly, has the angular shape of a coffin (Halloween, anyone?).
How to: Mark a spot at the center of the nail where you want to have your peak (just like with almond). Then, mark two spots on each side—so you have three spots in a line—where you want the edges of the coffin to be. File each side up to the outside points until you have the shape you want and they’re even. Then file the peak into a straight line.
oval-shaped nails
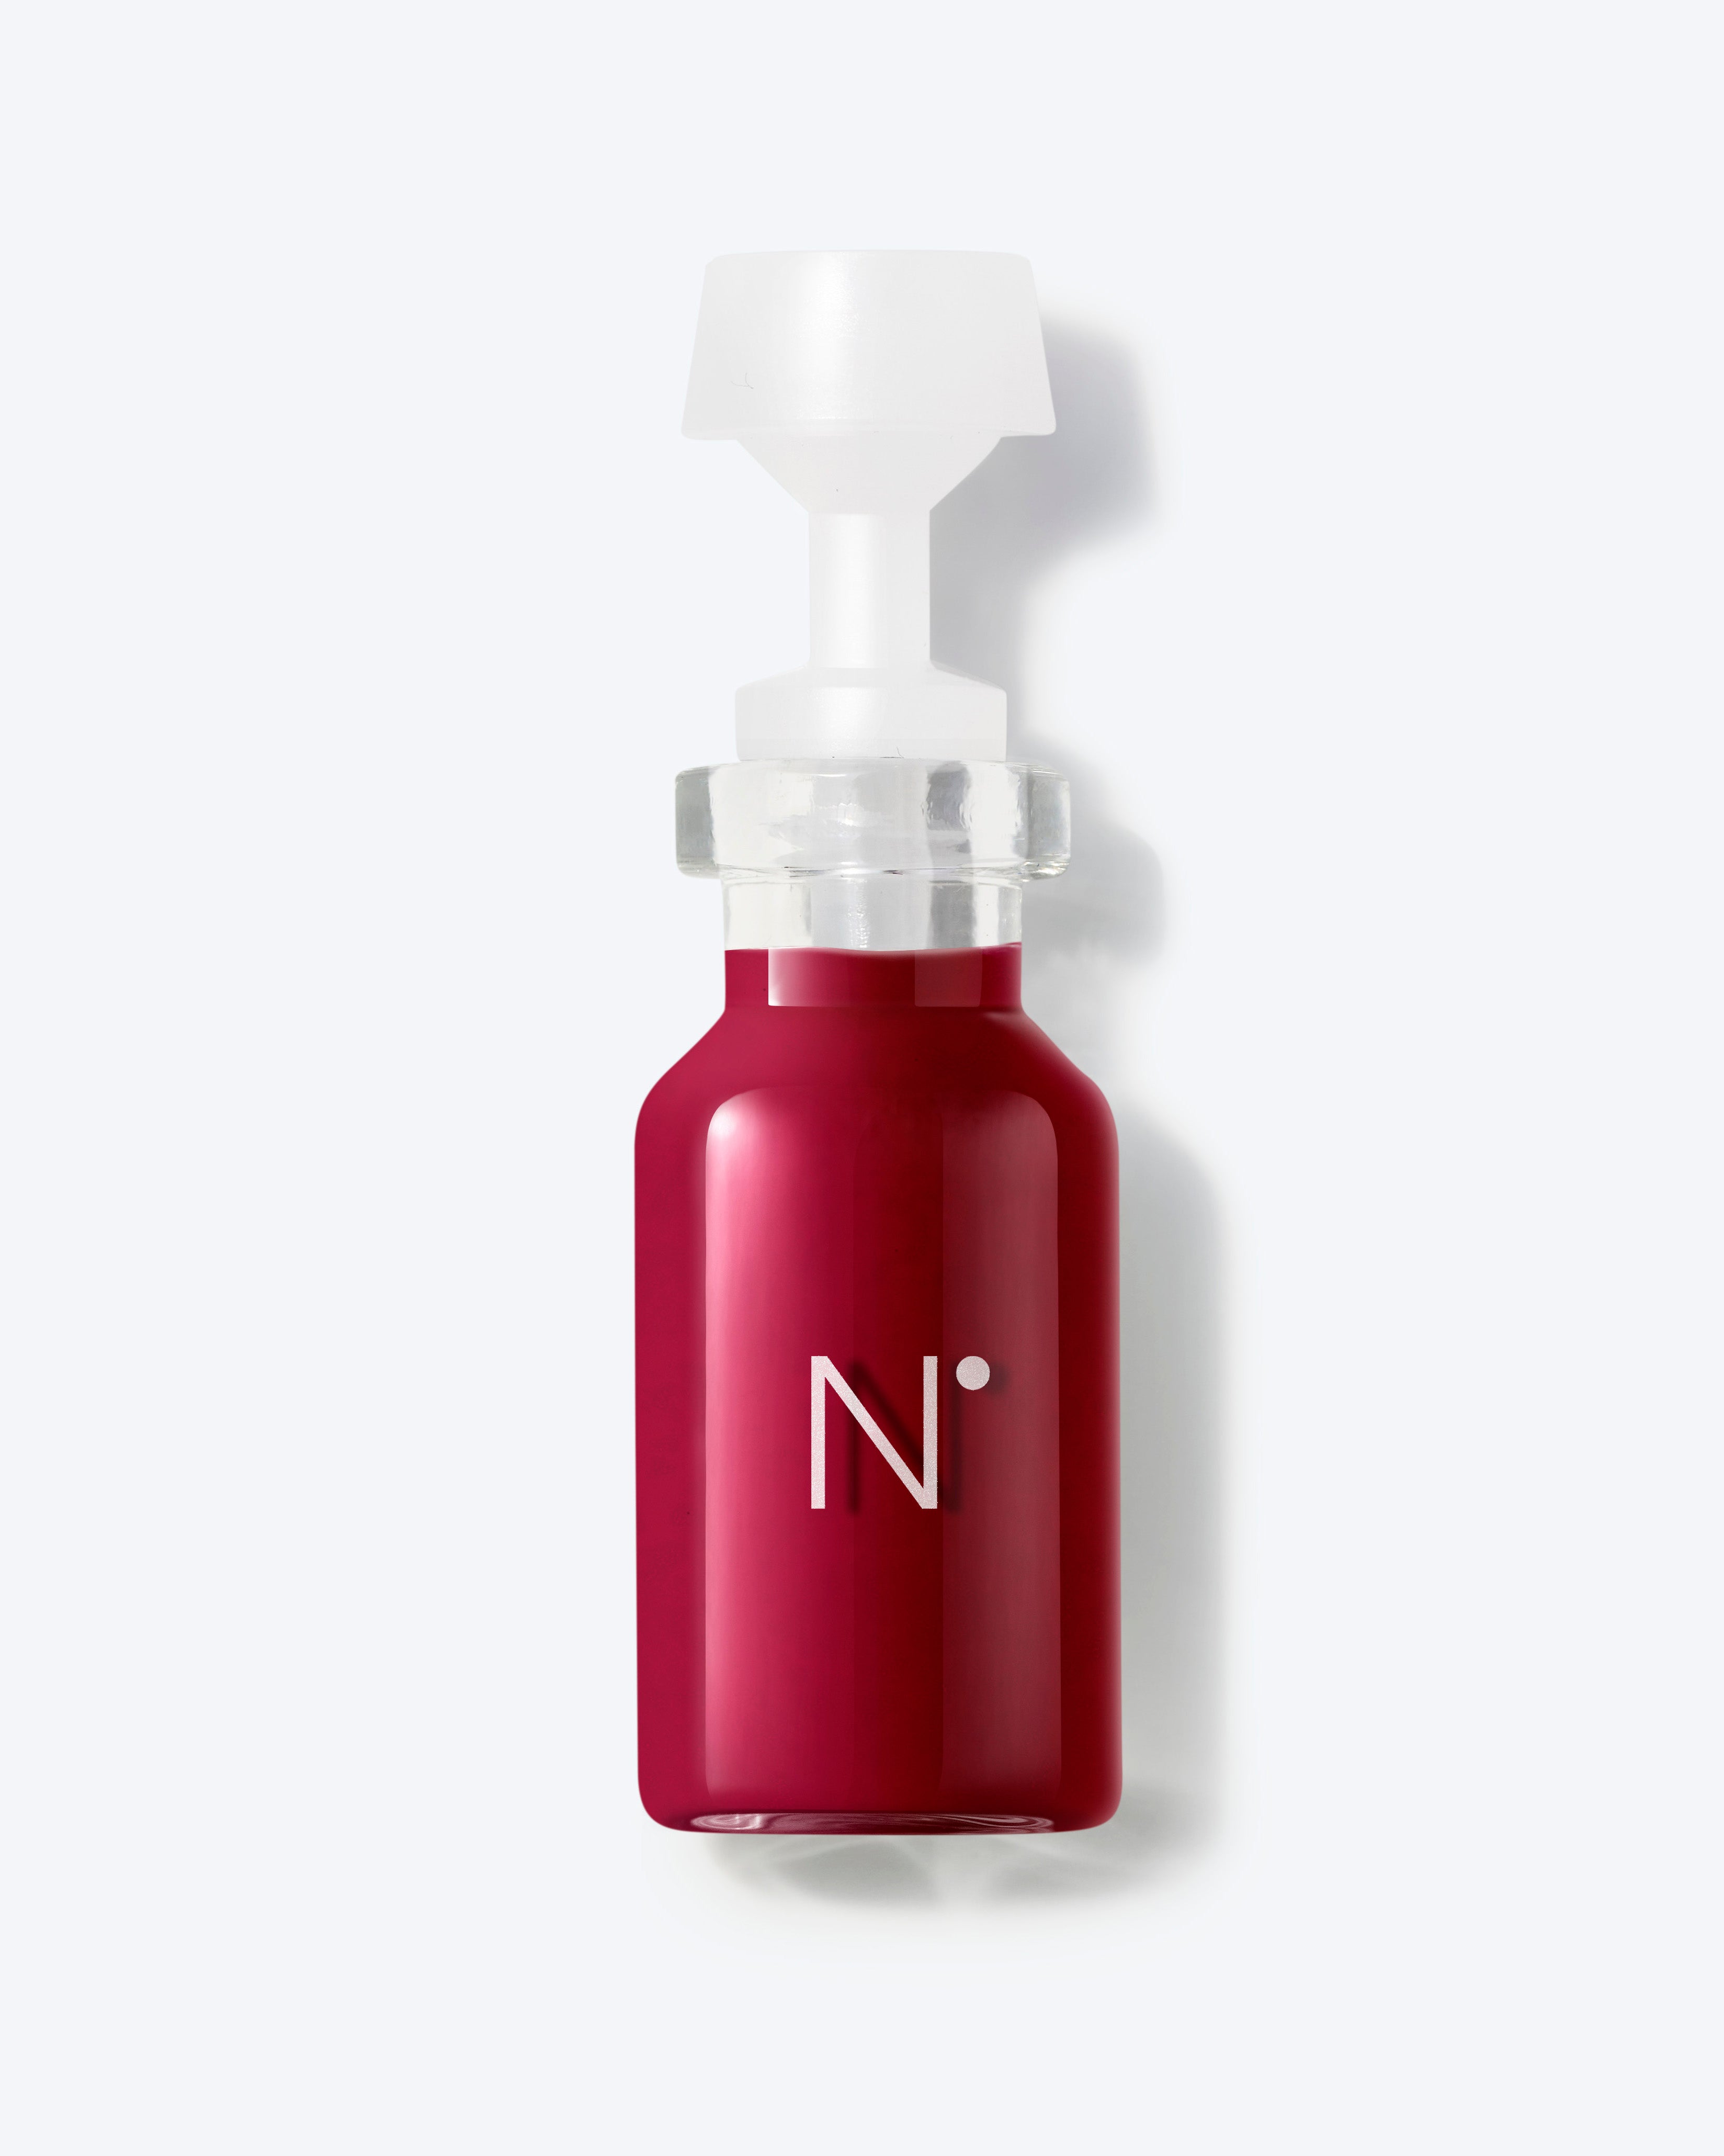
Oval nails are such an elegant nail shape—a solid choice if you’re looking for something a bit more traditional. Pair it with our N. 02 Morello and you’ll have an instant classic.
How to: File your nail in a forward motion on each side, to help get an even shape. Start with the sides and then move up towards the tip in the same continuous forward motion until you have the slightly tapered rounded shape you want.
square-shaped nails
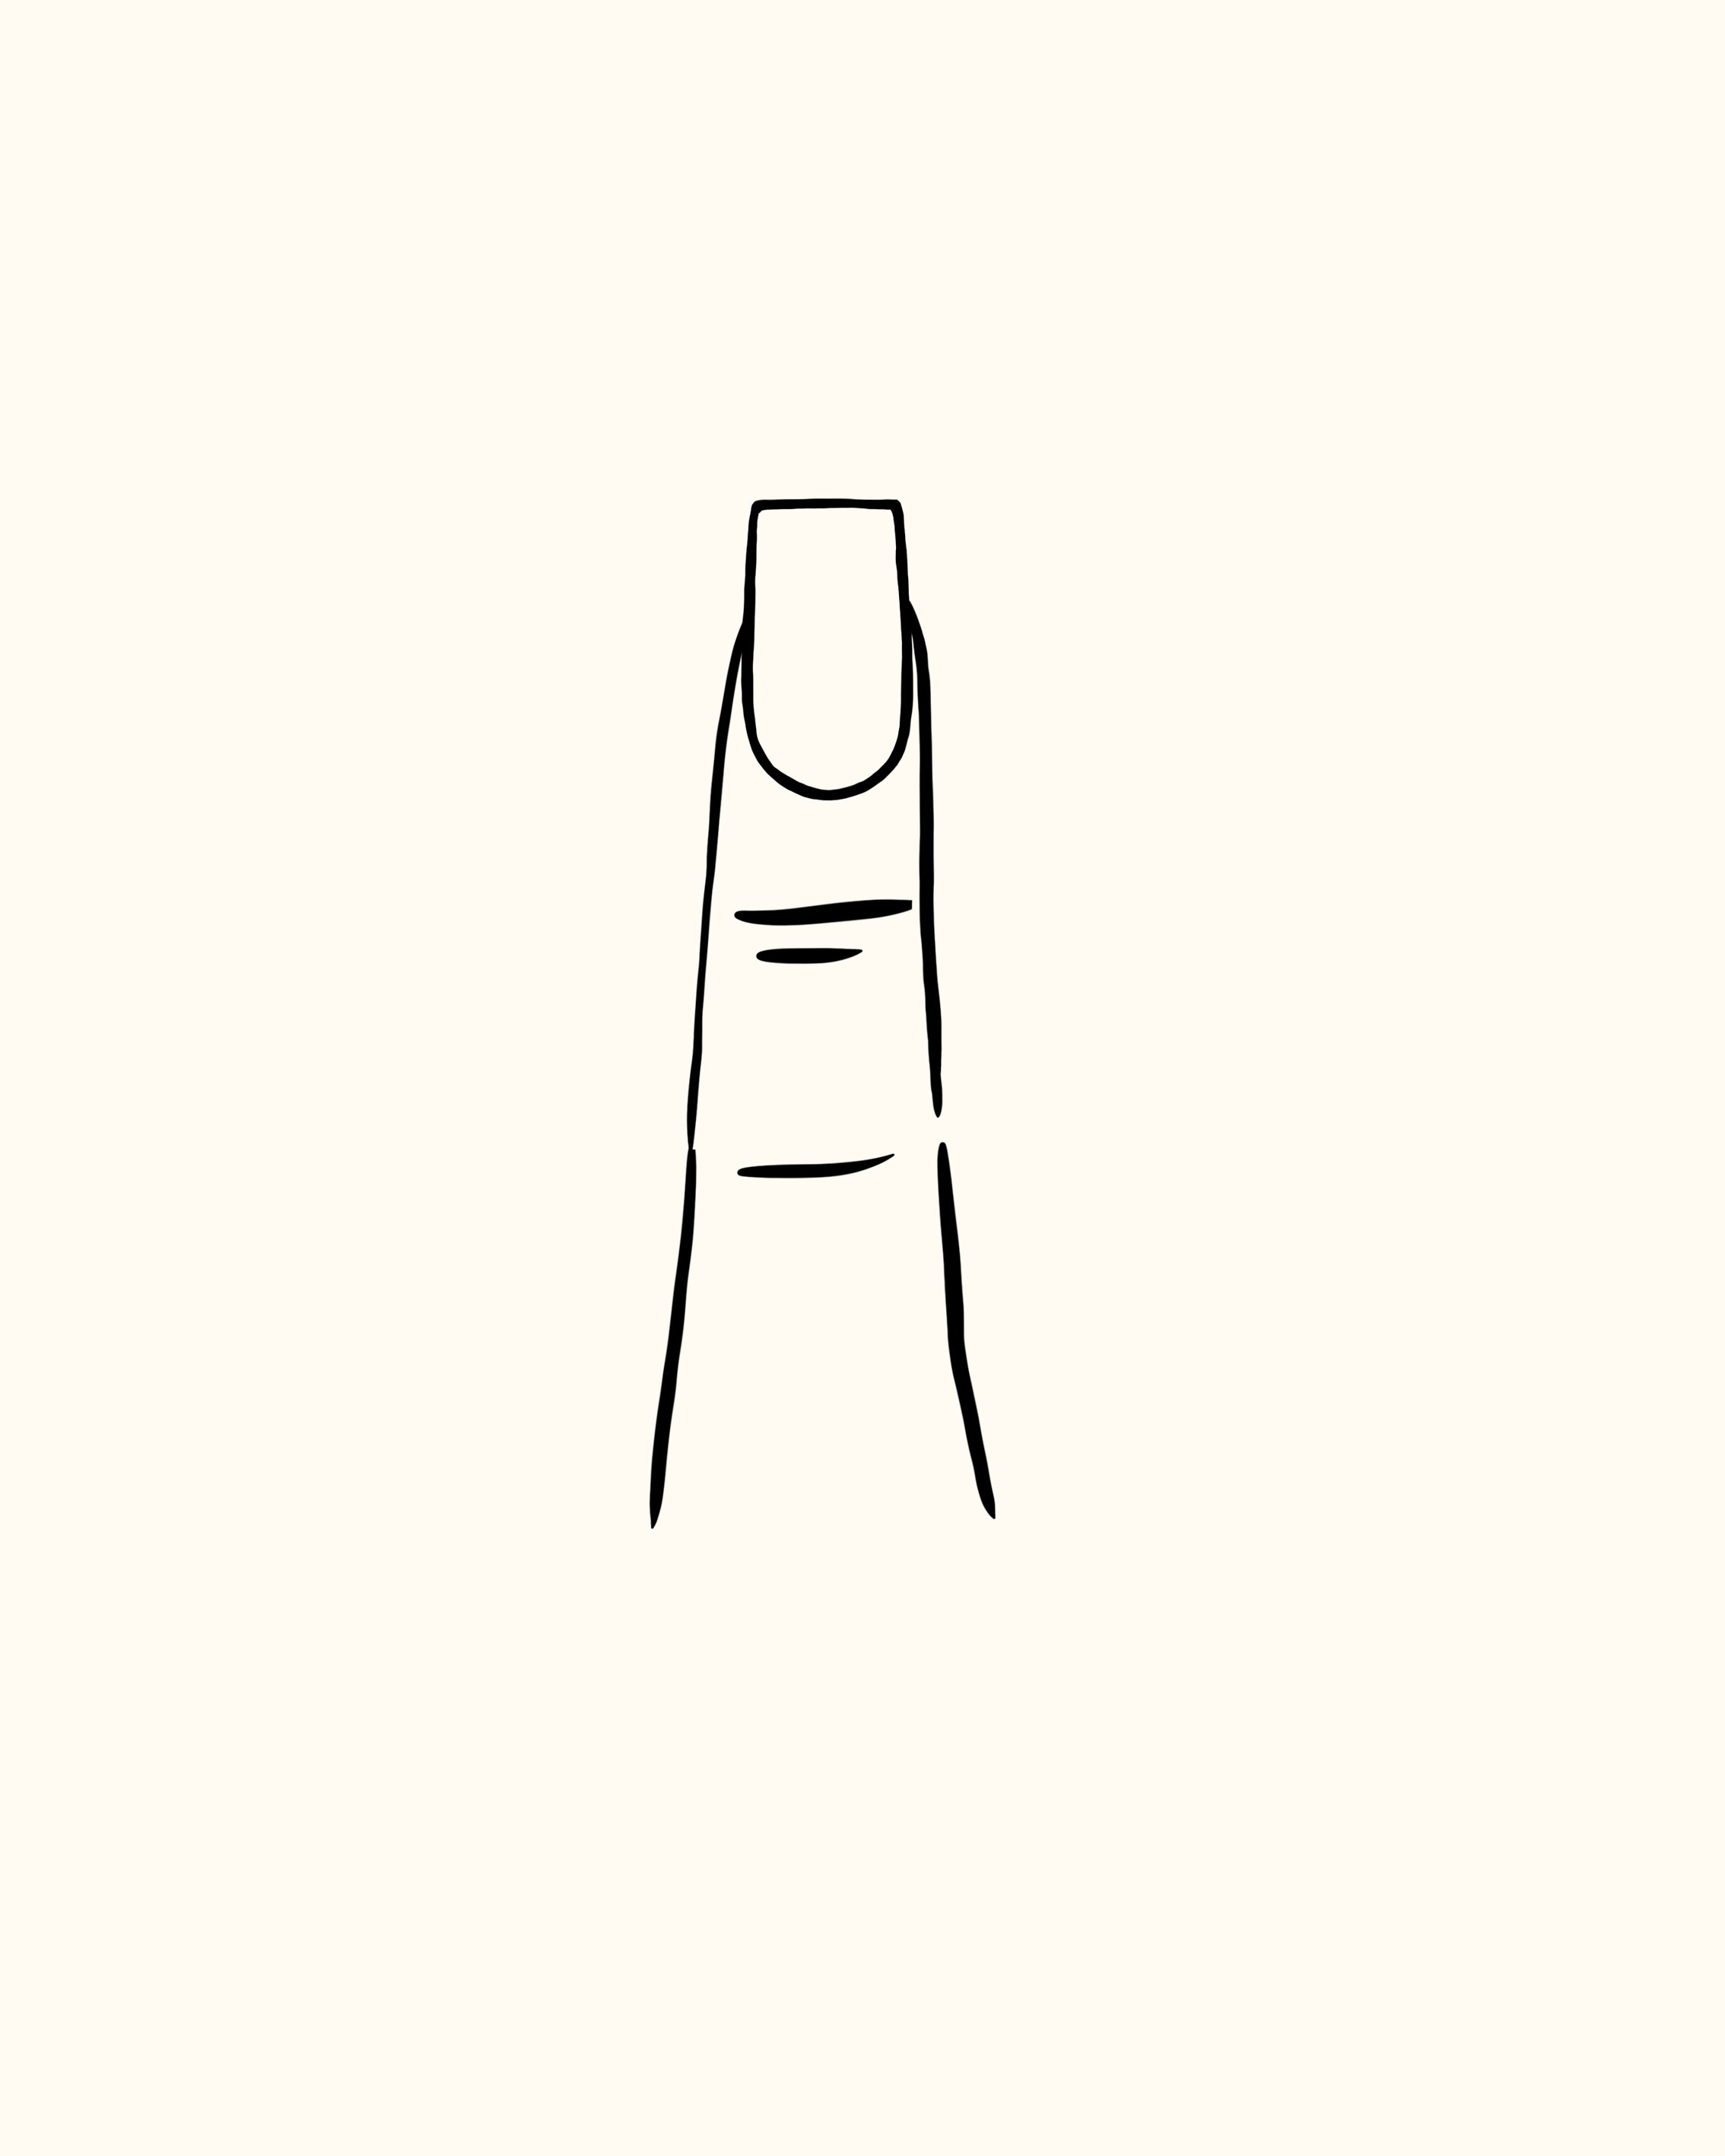
Square nails are another more traditional option, but have a little more edge than a round nail. Typically with this shape, the nails have a wide, square tip.
How to: File the sides of your nails evenly and straight. Then, file the tip in a straight line. When done, round out the edges a bit with the file.
Square-tapered-shaped nails
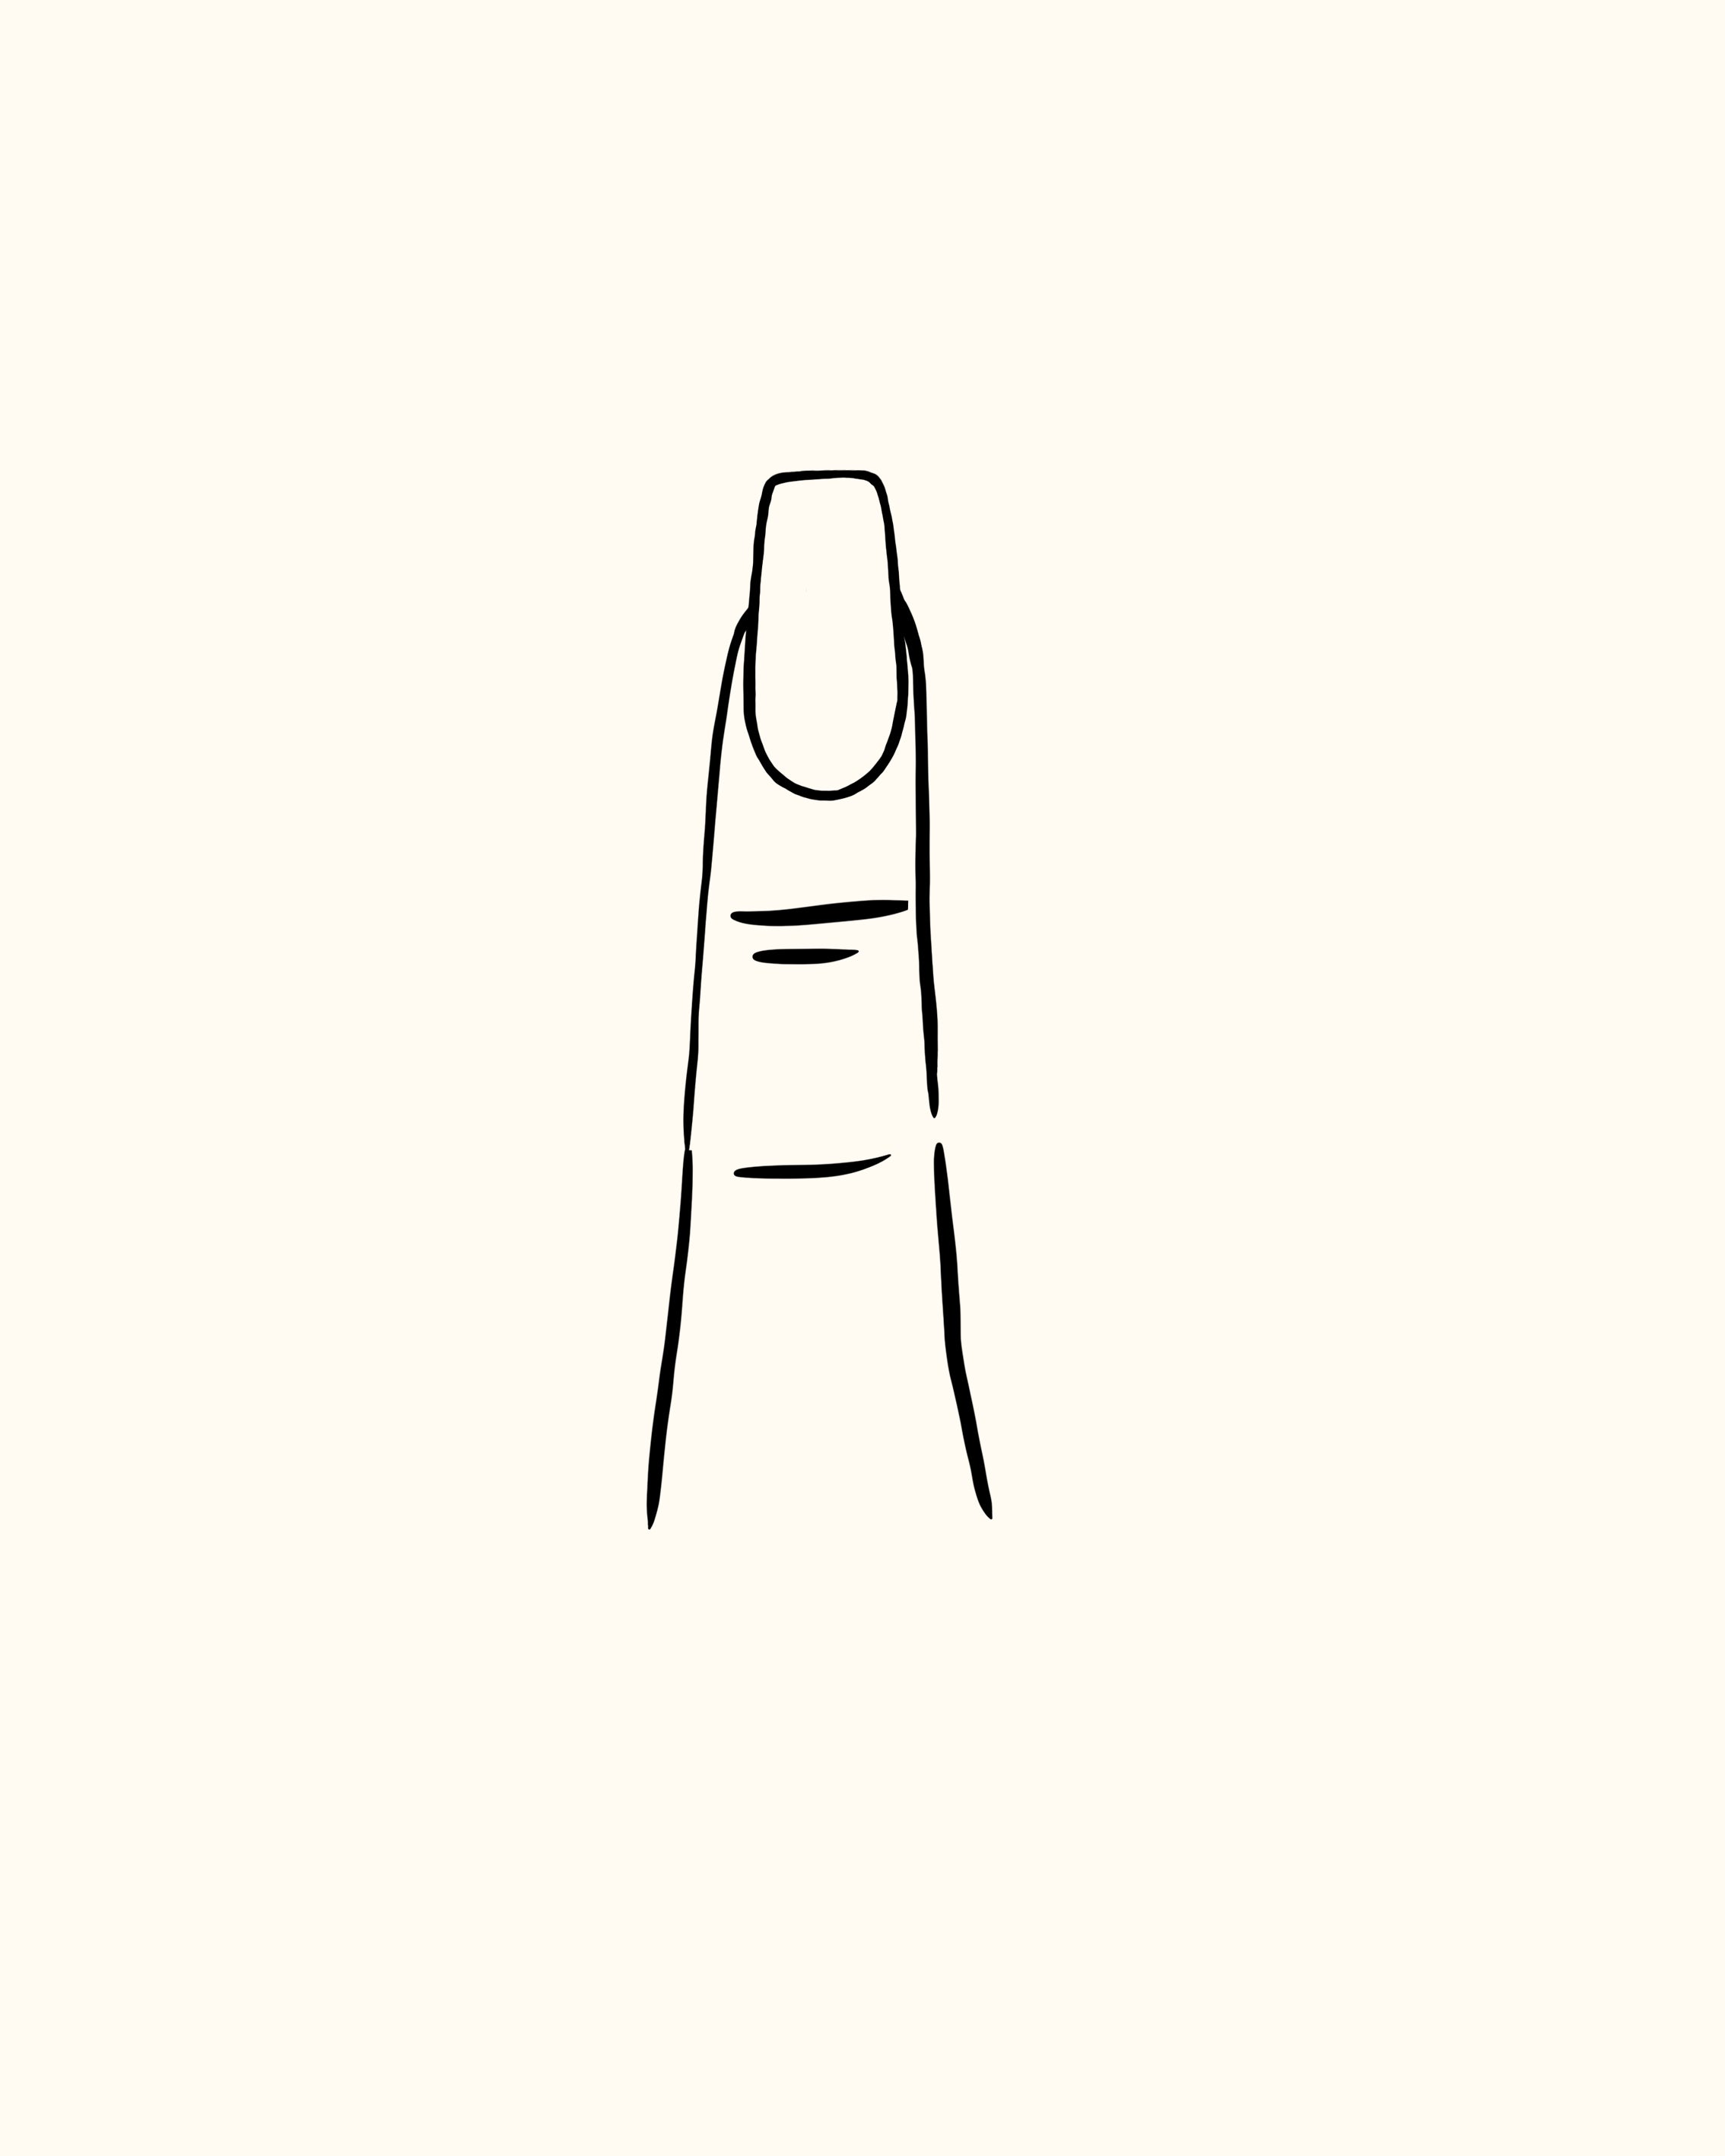
Very similar shape to coffin nails, but a little wider at the top. The tip is slightly thinner and more tapered than the base, but not as dramatic as the coffin shape.
How to: Follow the same process as coffin-shaped nails, but mark the outer dots a little further away from the center dot.
squoval-shaped nails
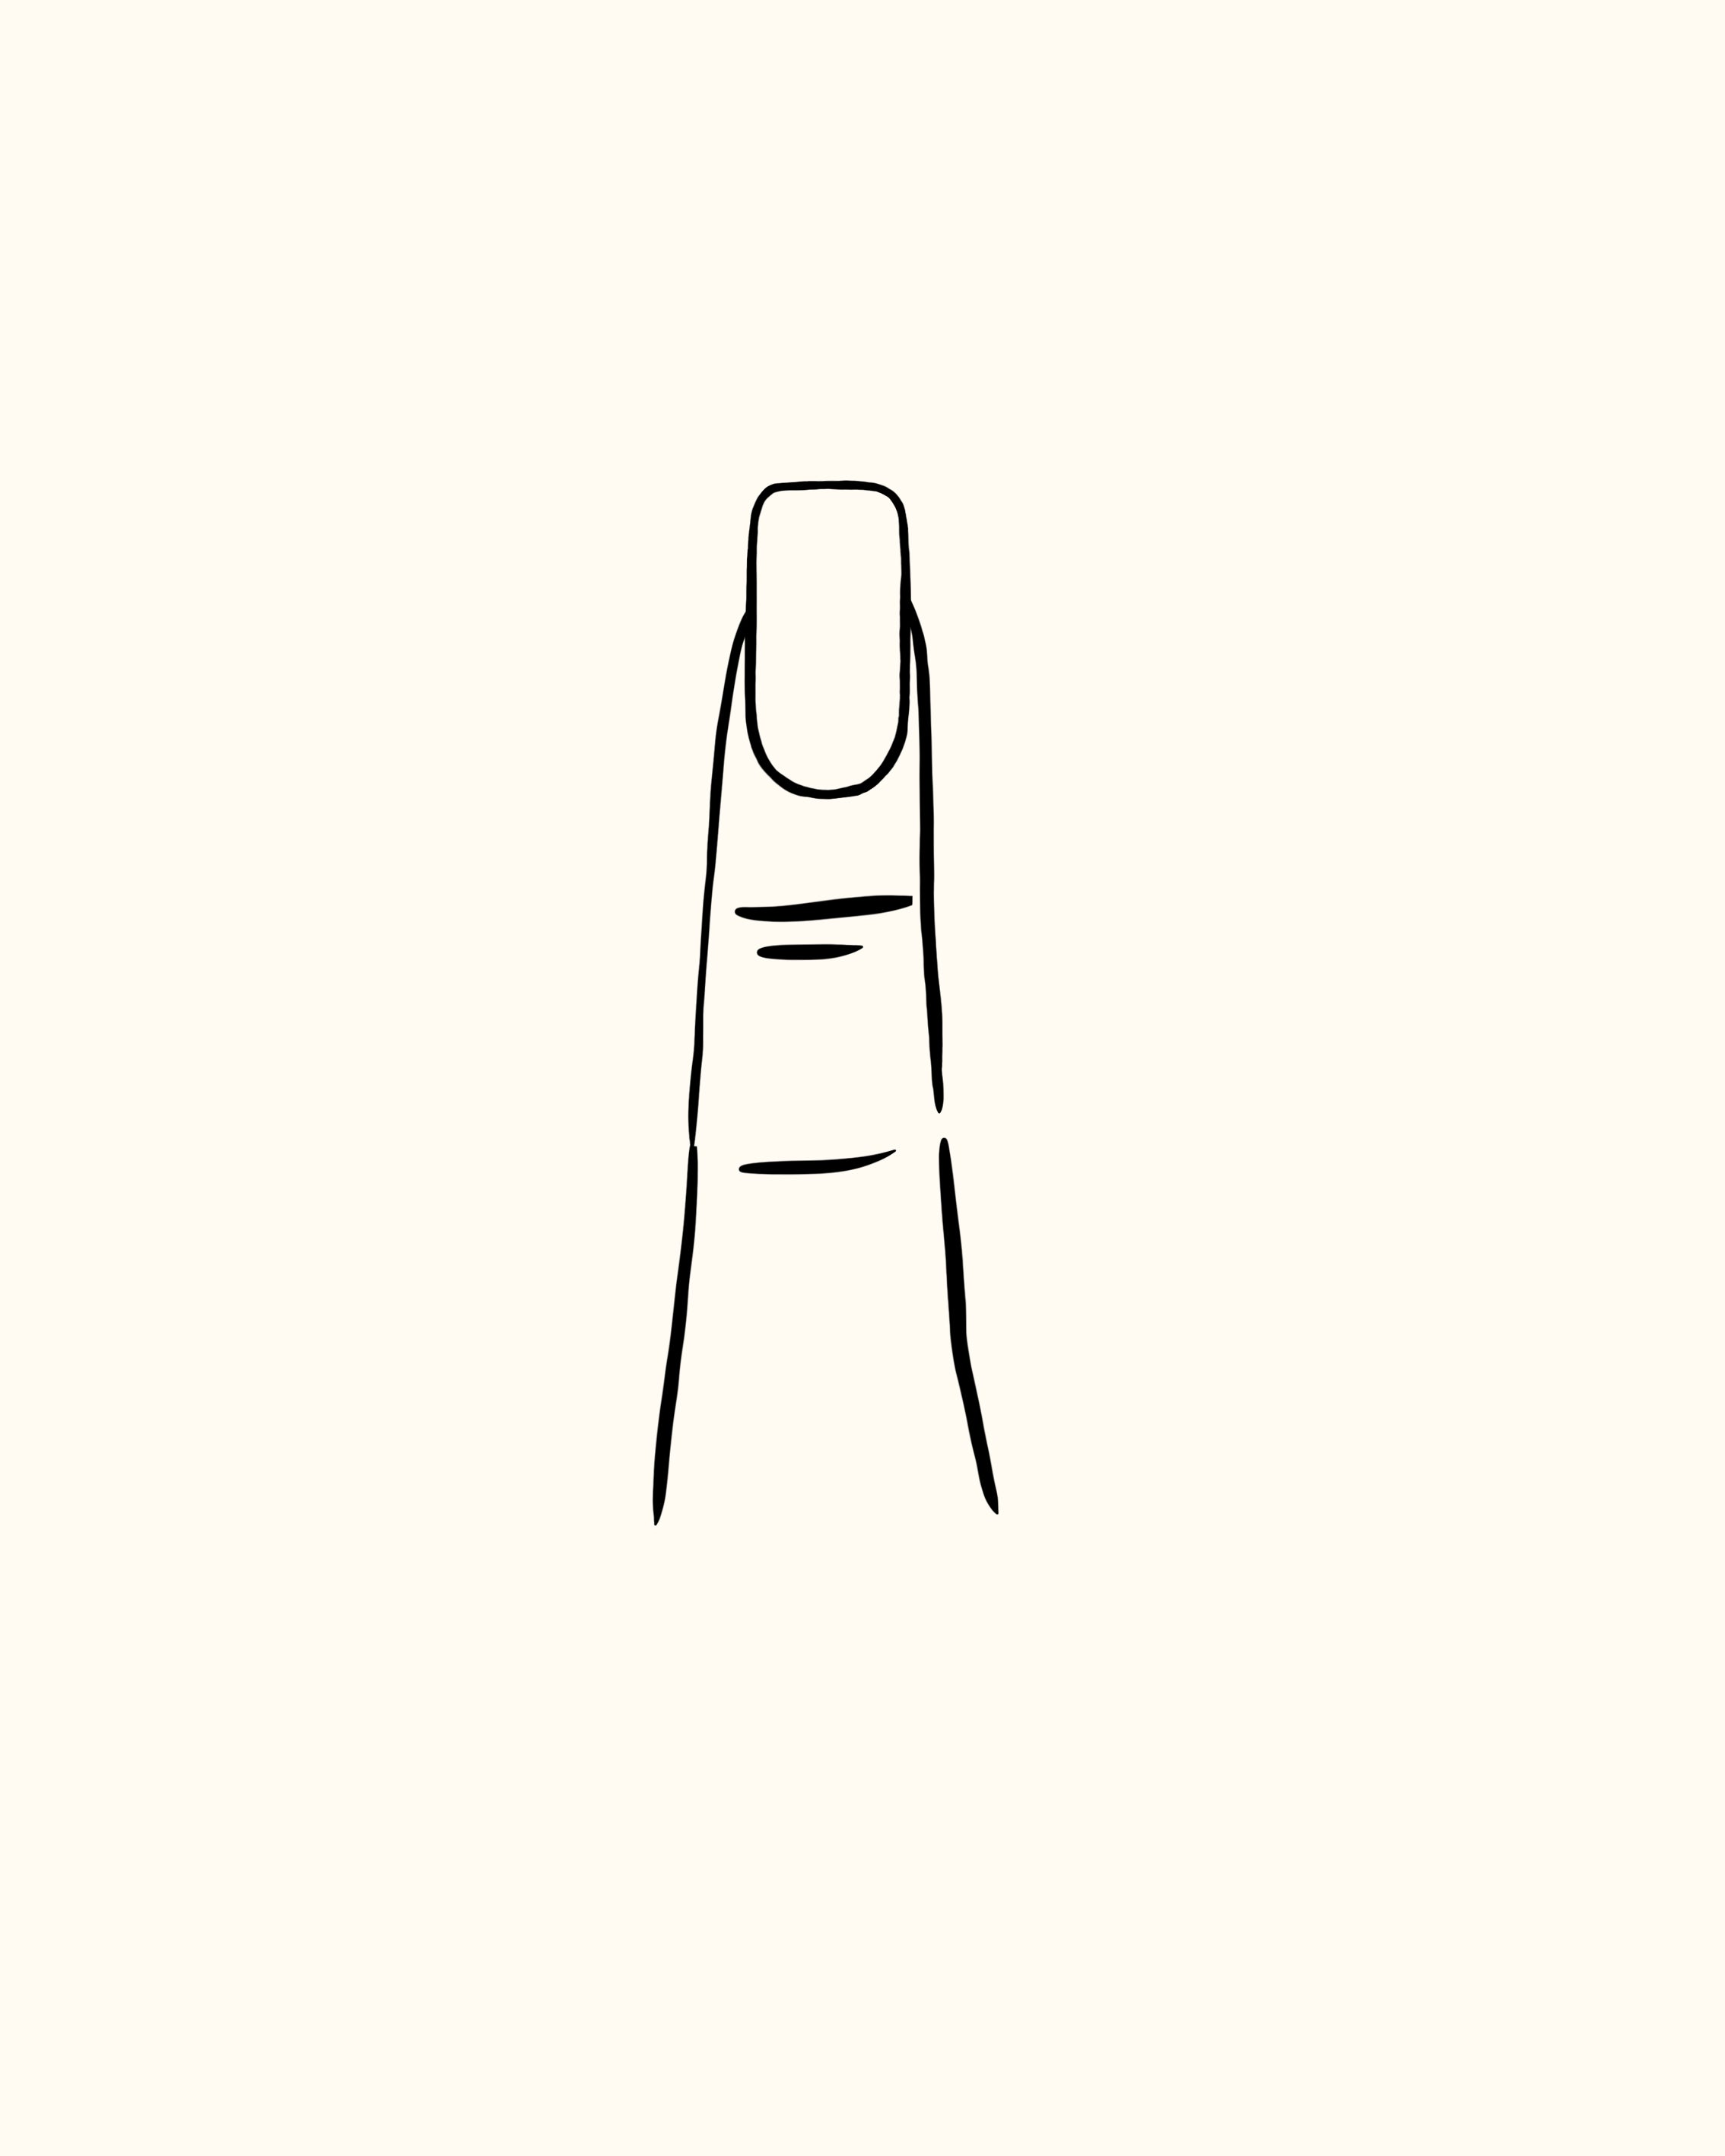
Squoval nails are right in the middle of square and oval. The sides are rounded like oval nails, but the tip is more square.
How to: When it comes to the sides, follow the same process you would for oval nails. However, when you get to the tip, file it in a straight line for a square look, and then slightly round the edges.
stiletto-shaped nails
Stiletto nails are also known as pointed/pointy nails—and they’re all about attitude.
How to: Just like with almond nails, mark a spot in the center of the tip that you want to be the peak. Next, file the sides in a straight line to that point. Make sure to run the file in a single direction for evenness.
Now that we’ve reviewed all these options, it ’s time to get your nail prep in order and get started with your Nimble.
a color for every moment
the capsule collection
keep exploring
manicure tips, inspiration, and tutorials from the Nimble journal


